If you’re like me, fishing isn’t just a hobby. It’s a way of life. I’ve spent countless hours on the water figuring out what works and what doesn’t. Every serious angler knows that keeping your catch fresh while you’re still out there is essential. That’s where a good stringer comes in. Whether you’re wading through rivers or navigating choppy waters in a kayak, the right stringer setup can mean the difference between fresh fish and wasted effort.
Essentials for Stringer Use
- Choose the Right Stringer
- Insert the Stringer Correctly
- Avoid Common Mistakes
- Keep Fish Fresh Longer
- Follow Best Stringer Practices
- Maintain Your Stringer
- Match Your Stringer to the Environment
1. Choose the Right Stringer
| Type | Ideal Use Case | Material | Best For |
|---|---|---|---|
| Rope/Poly | Versatile, all species | Nylon/Polyester | Wading, river fishing |
| Chain | Secure, multiple clips | Stainless Steel | Kayak, boat fishing |
| Heavy-Duty | Large or aggressive fish | Coated Cable | Saltwater, large species |
Now, when it comes to picking the right stringer, it isn’t just about grabbing the first one you see on the shelf. You’ve got to match the gear to the game. If you’re hitting small streams for trout or riverbanks for panfish, a simple rope or poly stringer does the job. They’re lightweight, easy to carry, and perfect when you’re constantly on the move. Just clip it on, spike it through the fish’s jaw, and you’re set.
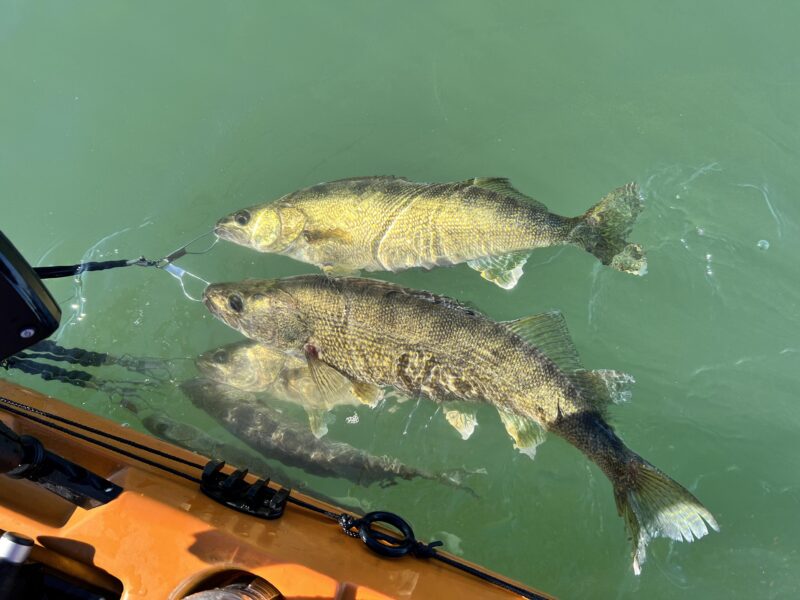
But if you’re out in a kayak or a small boat, where the action is fast and your hands are busy, a chain stringer with multiple clips is your best bet. You can secure each fish individually and keep them spaced out to prevent tangling. Look for stainless steel options—they’ll last longer, even in saltwater.
When you’re chasing larger species like reds or big catfish, a heavy-duty coated cable stringer is a game changer. These are built tough, and they can handle the pressure of bigger, stronger fish thrashing around. Always make sure your stringer matches the environment too. For saltwater trips, corrosion-resistant materials are non-negotiable.
Invest in gear that makes sense for your fishing style and species. Cheap stringers might save a buck, but they’ll cost you a fresh catch if they snap or corrode mid-trip.
Don’t be the angler left with a tangled mess of dead fish, get the right tool for the job and you’ll enjoy a more successful, hassle-free day on the water.
2. Insert the Stringer Correctly
| Step | Action | Importance |
|---|---|---|
| Step 1 | Insert through the mouth, exiting below the jaw | Keeps gills intact |
| Step 2 | Position fish vertically in the water | Promotes longer survival |
| Step 3 | Secure to avoid tangling | Prevents fish damage |
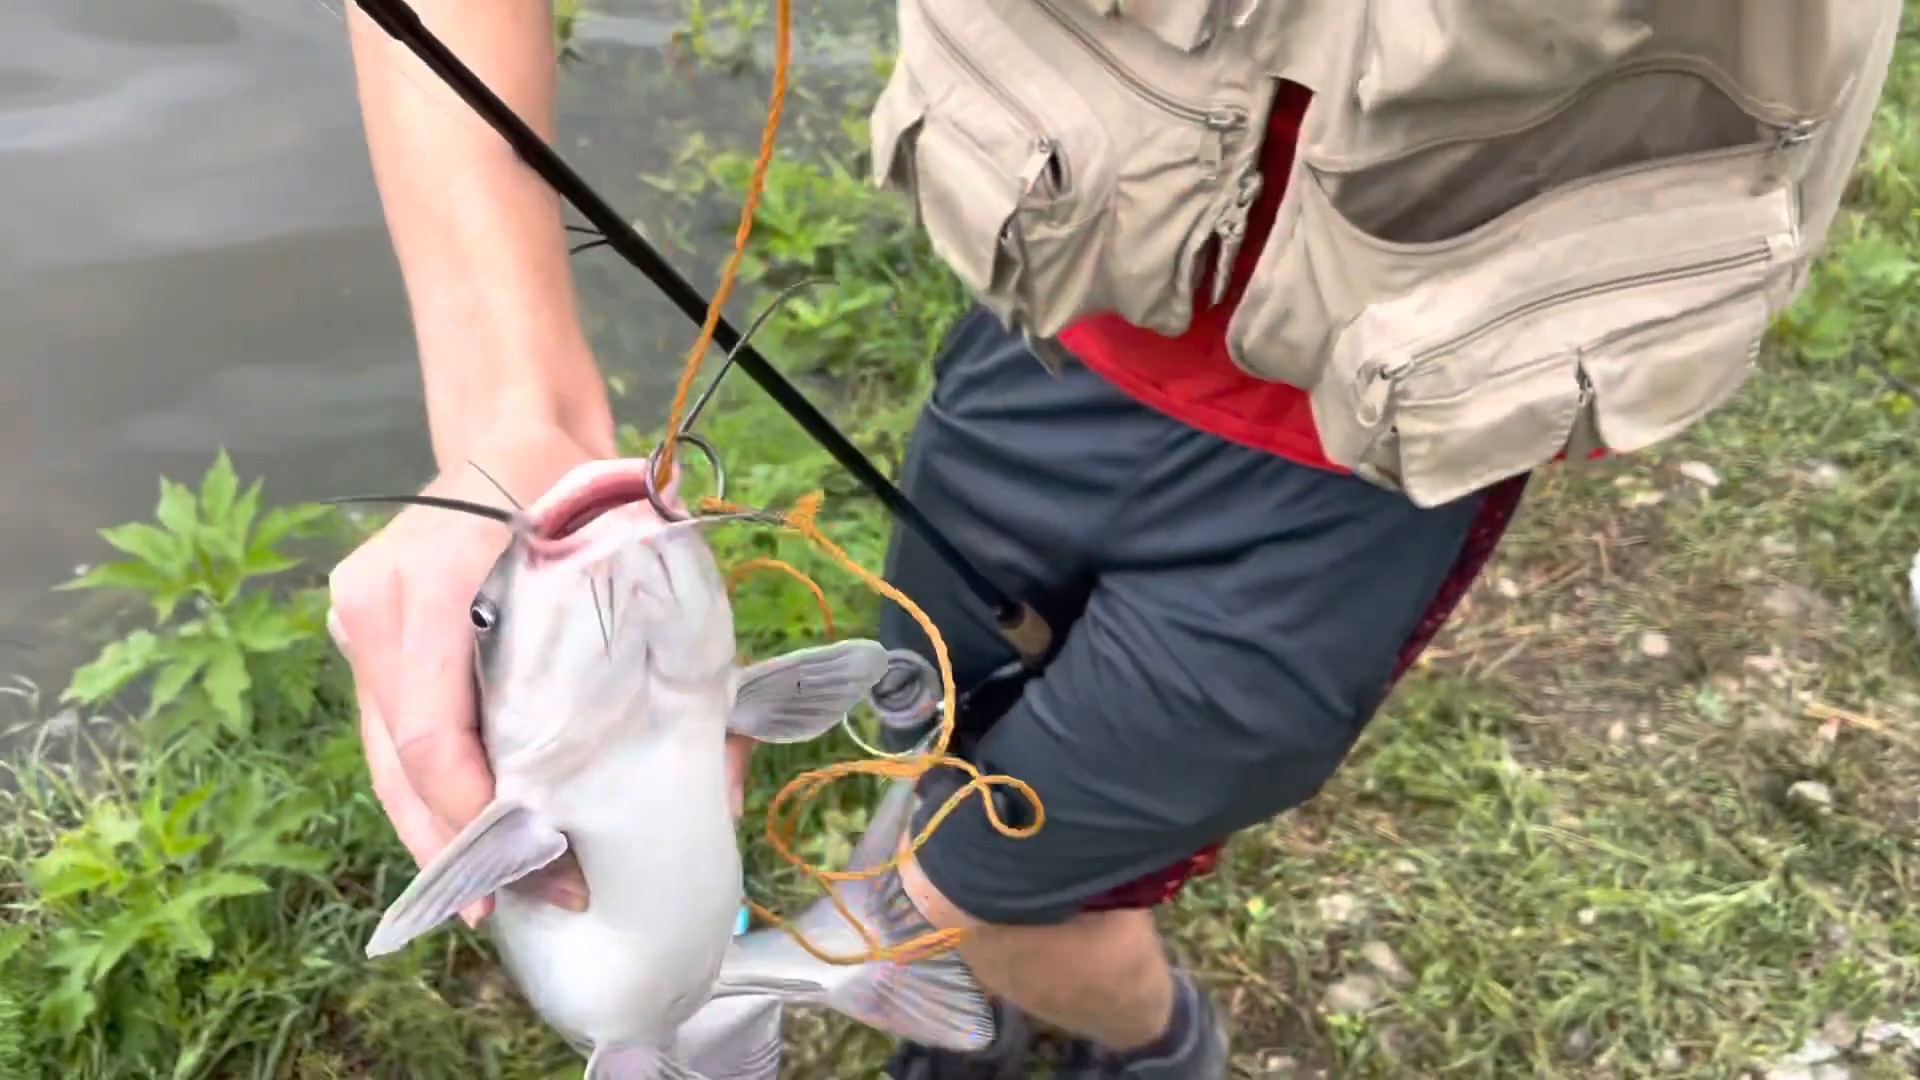
When it comes to using a stringer, the insertion technique is everything. You’ve got to know where to stick that spike, or you’ll end up with dead fish quicker than you can say “missed opportunity.” Here’s how it goes. Always pass the stringer through the fish’s mouth and out through the thin membrane under its jaw. This way, you avoid the delicate gills, which are essential for keeping the fish alive longer in the water. The last thing you want is to damage those gills and leave your catch floating belly-up while you’re still out there angling.
Once you’ve got the stringer in place, make sure the fish stays upright in the water. This positioning is crucial because it allows the fish to keep breathing naturally. If you string it wrong, the fish can end up lying sideways, which limits its ability to get oxygen and shortens its lifespan.
Also, avoid any tangling disasters by securing the stringer in a way that gives each fish enough space. Tightly packed fish can injure themselves or each other, which not only looks bad but also spoils your catch.
3. Avoid Common Mistakes
| Mistake | Consequence | Solution |
|---|---|---|
| Inserting Through the Gills | Damages delicate tissues, kills fish | Always insert through the mouth and jaw |
| Keeping Fish Out of Water | Rapid fish death, attracts pests | Keep fish submerged at all times |
| Tangling Multiple Fish | Injury and spoilage | Space fish properly on the stringer |
Mistakes with stringer use can ruin your catch in minutes. One of the worst things you can do is run the stringer through the gills. It seems convenient, but it rips apart the gills, which your fish rely on for breathing. Always thread it through the mouth and jaw instead. Another rookie error is keeping the fish out of water. This isn’t a trophy hunt; it’s about keeping your catch fresh, so leave it submerged. I’ve seen too many folks hang their fish out to dry, only to end up with stiff, dead fish covered in flies and wasps.
You also need to avoid tangling the fish together. It sounds basic, but jamming multiple fish onto a stringer with no space between them leads to injuries and faster spoilage.
4. Keep Fish Fresh Longer

| Key Factors | Why It Matters | Pro Tip |
|---|---|---|
| Keep Fish Submerged | Preserves oxygen flow and freshness | Use a float to keep it deep |
| Space Out the Catch | Prevents injuries and spoilage | Adjust clips to avoid crowding |
| Use Clean Water | Avoids contamination and spoilage | Choose areas with steady water flow |
If you want your catch fresh until you’re ready to clean, keeping them submerged in the water is the golden rule. No shortcuts here. Water flow keeps the fish oxygenated and alive, giving you top-quality fillets when you’re done. Another trick is spacing out each fish on the stringer. Crowded fish are more likely to get injured and spoil faster.
5. Follow Best Practices
| Best Practice | Benefit | Quick Tip |
|---|---|---|
| 1. Keep Tension on the Line | Prevents fish from slipping off | Tie the stringer securely to your belt |
| 2. Regularly Check on Your Catch | Ensures fish are still alive and fresh | Adjust positioning if needed |
| 3. Use a Float with the Stringer | Keeps fish at the optimal depth | Attach a small float to prevent sinking |
- Keep Tension on the Line: Using the stringer efficiently isn’t just about hooking your fish. You need to keep tension on the line, ensuring nothing slips off while you’re busy catching more. Secure the stringer tightly, especially if you’re wading or moving frequently.
- Regularly check on your catch: Fish might get tangled or shift into a bad position, and a quick adjustment keeps everything fresh.
- Use a Float with the Stringer: A small float attached to the stringer also helps maintain the right depth, so the fish aren’t dragged too deep or left near the surface where they’re exposed.
6. Maintenance

| Maintenance Task | Why It’s Important | How to Do It |
|---|---|---|
| Rinse After Every Use | Removes salt and debris | Use freshwater, especially after saltwater fishing |
| Inspect for Wear and Tear | Prevents unexpected breaks | Check clips, spikes, and cord integrity |
| Store in a Dry Place | Avoids rust and material degradation | Hang in a well-ventilated area |
Maintaining your stringer might not be exciting, but it’s essential if you want it to last. After every trip, especially in saltwater, rinse it off thoroughly with freshwater to remove salt and debris. Salt is a killer on metal parts, so don’t skip this.
7. Match to the Environment
| Environment Type | Recommended Stringer | Key Features |
|---|---|---|
| Freshwater Rivers and Streams | Rope or Poly | Lightweight, easy to carry, floats |
| Kayak and Canoe Fishing | Chain with Multiple Clips | Secure, prevents tangling, easy attachment |
| Saltwater Coastal Areas | Coated Cable or Stainless Steel | Corrosion-resistant, heavy-duty |
For kayak or canoe fishing, a chain stringer offers more control, keeping each fish separate while securely attached to your boat. When you’re dealing with saltwater, corrosion resistance becomes crucial.
Choose a coated cable or stainless steel stringer to avoid rust issues and handle larger, stronger species without worrying about durability. Match the tool to your environment for the best results.
FAQs
How do I keep fish from tangling on a stringer?
Use a chain with separate clips for each fish. Make sure each fish has enough space between them and regularly check the positioning to avoid them twisting together.
What’s the best way to attach a stringer while wading?
Tie securely to your belt or a D-ring on your waders. Use a float to keep it from dragging on the bottom or getting tangled in vegetation.
How do I clean a fish stringer after saltwater use?
Rinse thoroughly with freshwater after every saltwater trip. This prevents corrosion and keeps the material strong for future use.
Can I use a stringer in deep water?
Yes, but ensure the stringer is weighted or use a heavy-duty model that can handle deep-water pressure without compromising the fish’s position.
How long can fish stay alive on a stringer?
Fish can remain alive for several hours if properly submerged, spaced out, and the stringer is inserted correctly through the jaw without damaging the gills.
Conclusion
Efficient use is all about choosing the right tool, applying proper techniques, and avoiding mistakes. From selecting the best stringer to correctly inserting it and keeping your fish fresh, every detail matters. These practices ensure that your fish stay alive and in great condition until you’re ready to wrap up.